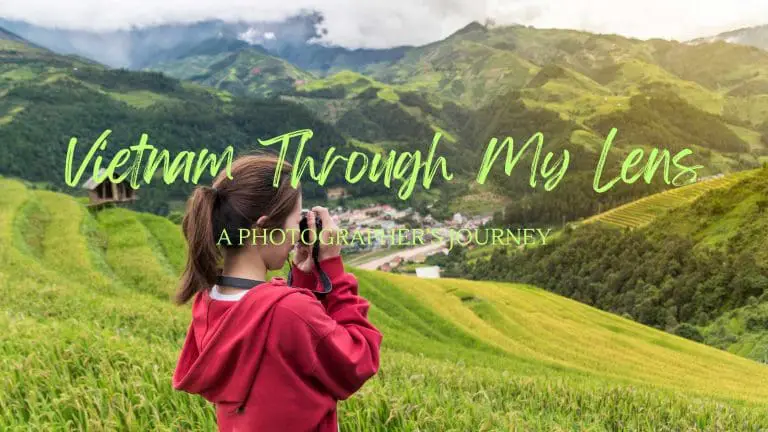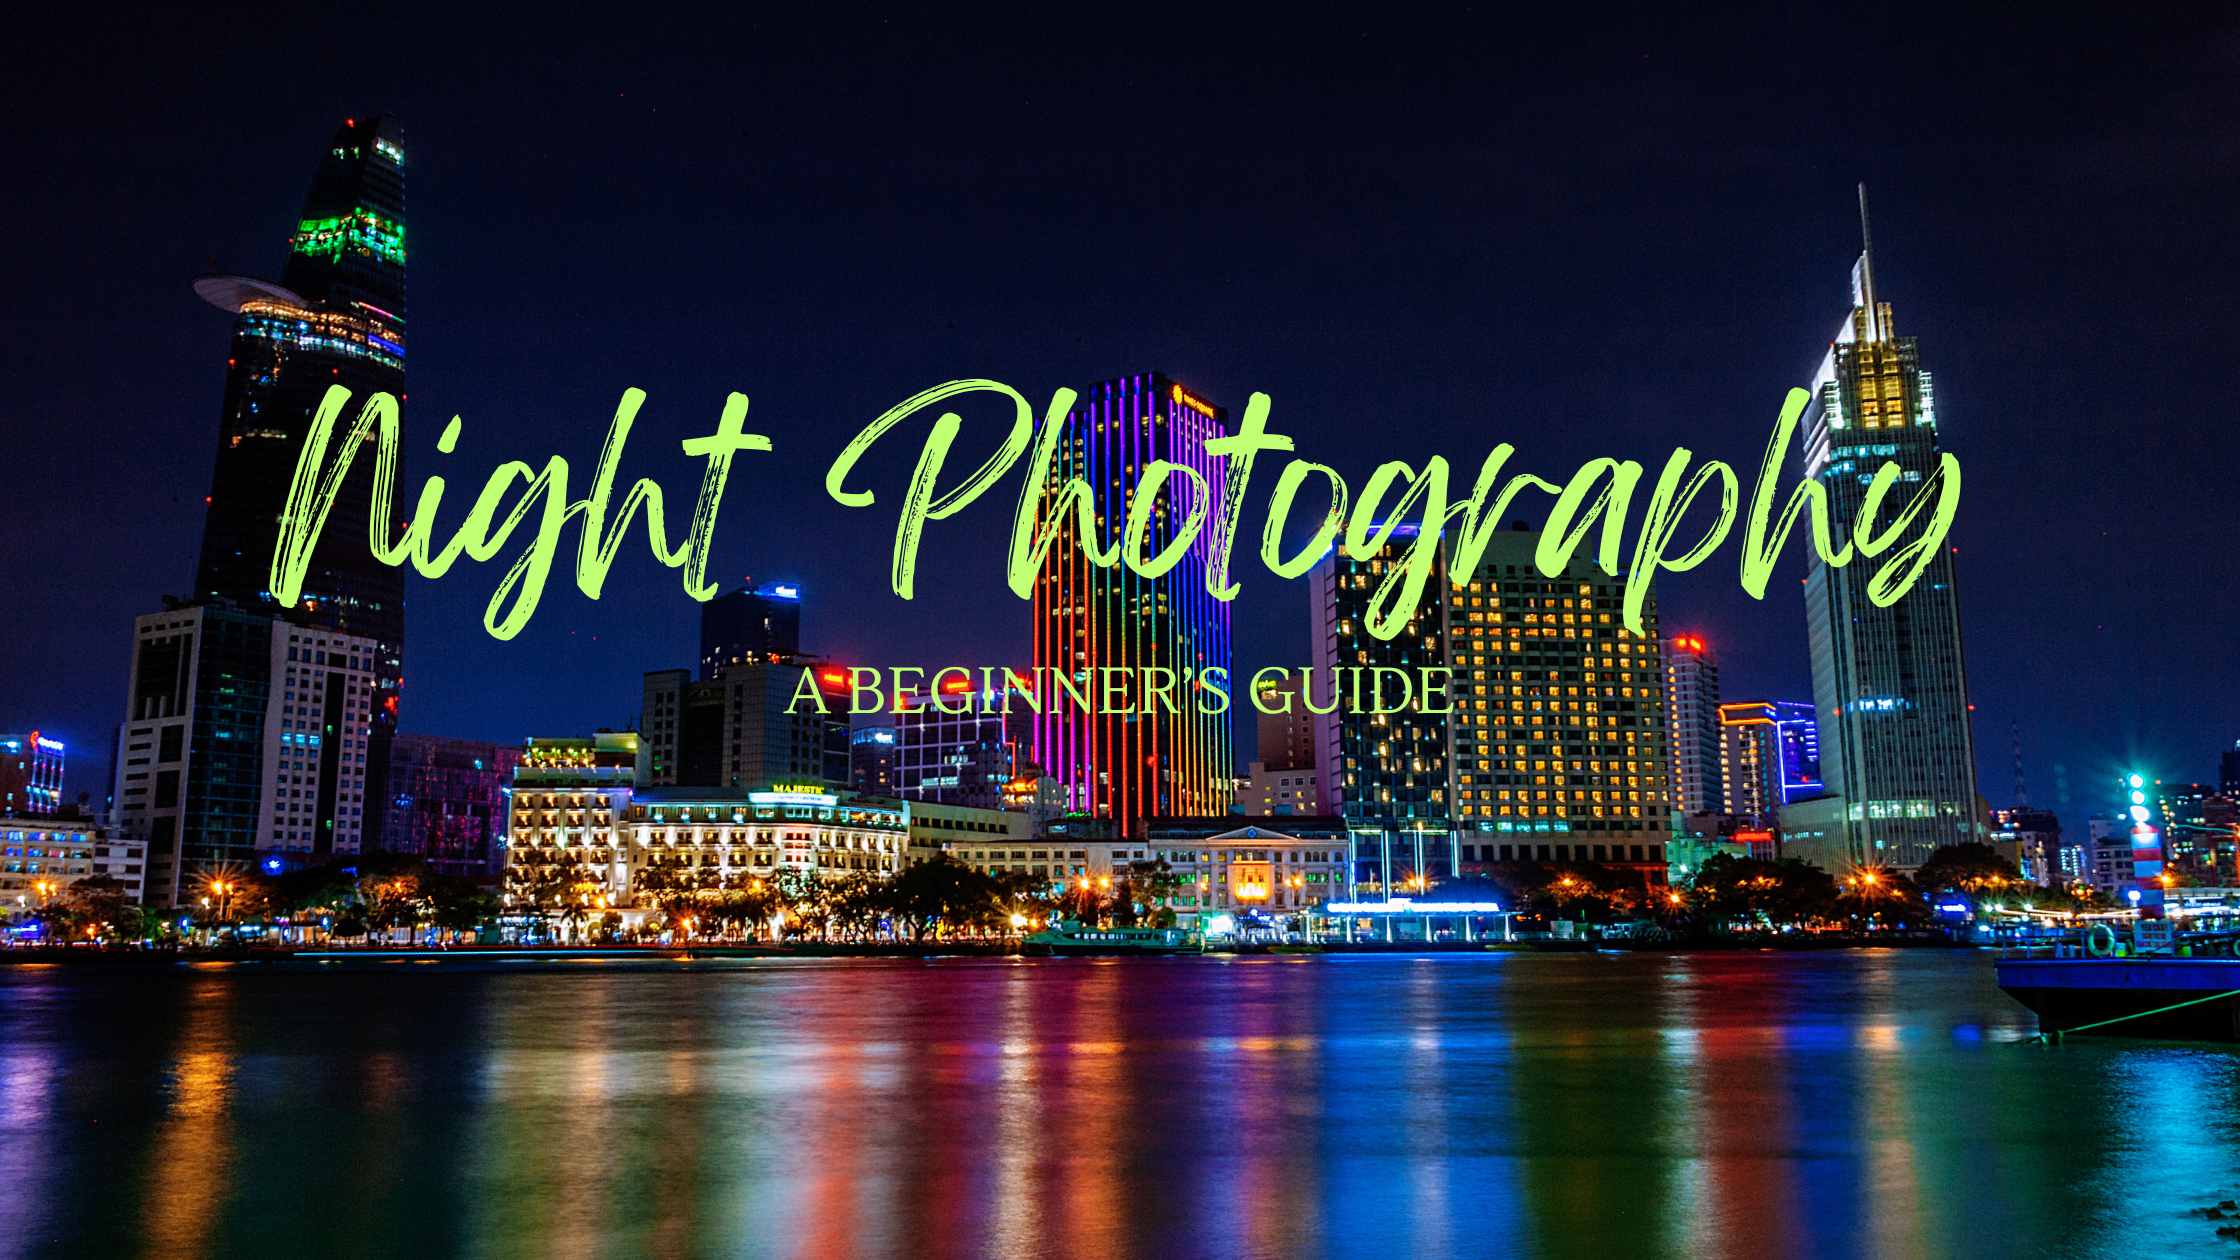
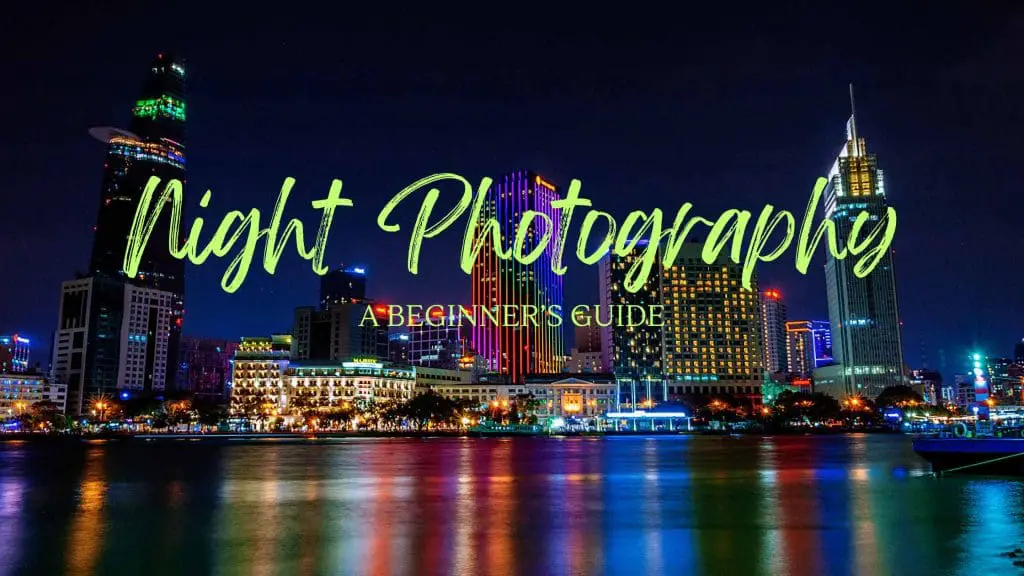
Unleash the Night: A Beginner’s Guide to Mesmerizing Night Photography
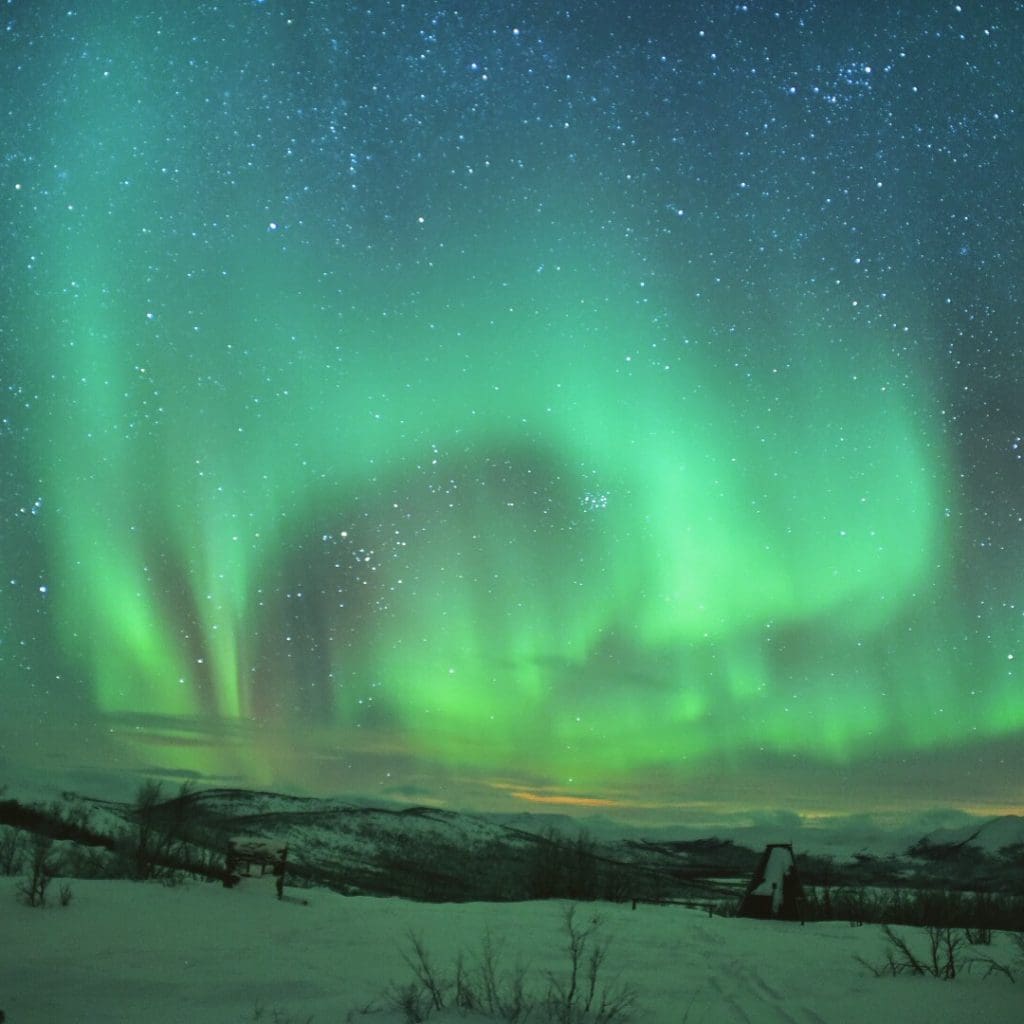
Night photography captures the world in a way that defies the boundaries of our vision, revealing a universe aglow with light trails, celestial bodies, and illuminated landscapes. In this guide, we’ll walk you through the essentials of night photography with your DSLR camera, ensuring even beginners can take breathtaking photos after the sun goes down.
Understanding Your DSLR Camera for Night Photography
When it comes to night photography, mastering three primary camera settings will greatly impact your images: ISO, aperture, and shutter speed.
- ISO: Adjusting your camera’s ISO setting affects its sensitivity to light. For night photography, a higher ISO helps capture more details in low light but be mindful of increasing noise in your photos.
- Aperture: The aperture controls the lens’s opening size, determining the depth of field and the amount of light entering the camera. A wider aperture (smaller f-stop number) is typically favored for night shots.
- Shutter Speed: Slow shutter speeds allow more light to reach the camera sensor, essential in the dark. However, it also means any movement, either from the subject or camera shake, can result in blur.
This beginners guide to night photography will help to explain the basics. Balancing ISO, aperture, and shutter speed is crucial for creating captivating night photography. Think of these settings as a triad working in harmony to dictate the final image’s exposure and clarity. A high ISO maximizes the camera’s sensitivity to light, essential in low-light conditions, but it’s vital to keep an eye on the noise it can introduce. The aperture’s width directly influences the depth of field and brightness of your photo; a wide aperture allows more light and creates a shallow depth of field, ideal for highlighting subjects against a softly blurred background.
Meanwhile, a slow shutter speed ensures that enough light reaches the sensor to illuminate the dark scenery adequately, capturing everything from the subtle glow of stars to the rush of city lights. However, to avoid unwanted blur from hand movement, using a tripod is often necessary when employing longer exposures. By mastering the interplay of these settings, photographers can unlock the full potential of their DSLR cameras for night photography, transforming the night into a canvas of endless possibilities.
Experiment with these settings, often starting with an ISO setting around 800 to 3200. Trial and error play a significant role, so don’t hesitate to adjust based on the results you see.
Essential Equipment for Night Photography
To get the most out of night photography, there are several pieces of equipment beyond your DSLR that can greatly enhance the quality of your images:
- Tripod: A sturdy tripod is essential for night photography. It stabilizes your camera, eliminating the blur associated with hand-holding your camera during the long exposures typically required for night shots.
- Remote Shutter Release: This tool permits you to take a photo without physically touching your camera, further reducing the risk of camera shake during long exposure times.
- Wide-Angle Lens: A lens with a wide aperture (low f-stop number) is ideal for night photography. It allows more light to enter the camera, which is critical in low-light conditions. Wide-angle lenses also capture more of the landscape.
- Extra Batteries: Long exposures and cold nights can drain your camera’s battery faster than usual. Keeping extra batteries on hand ensures you don’t miss out on the perfect shot.
- Flashlight or Headlamp: A small light source is invaluable for seeing your camera settings and navigating your surroundings in the dark.
Equipping yourself with these tools can significantly improve your night photography experience, allowing you to explore the nocturnal world with your camera more effectively. Next, the beginners guide to night photography will address where to take night photos.
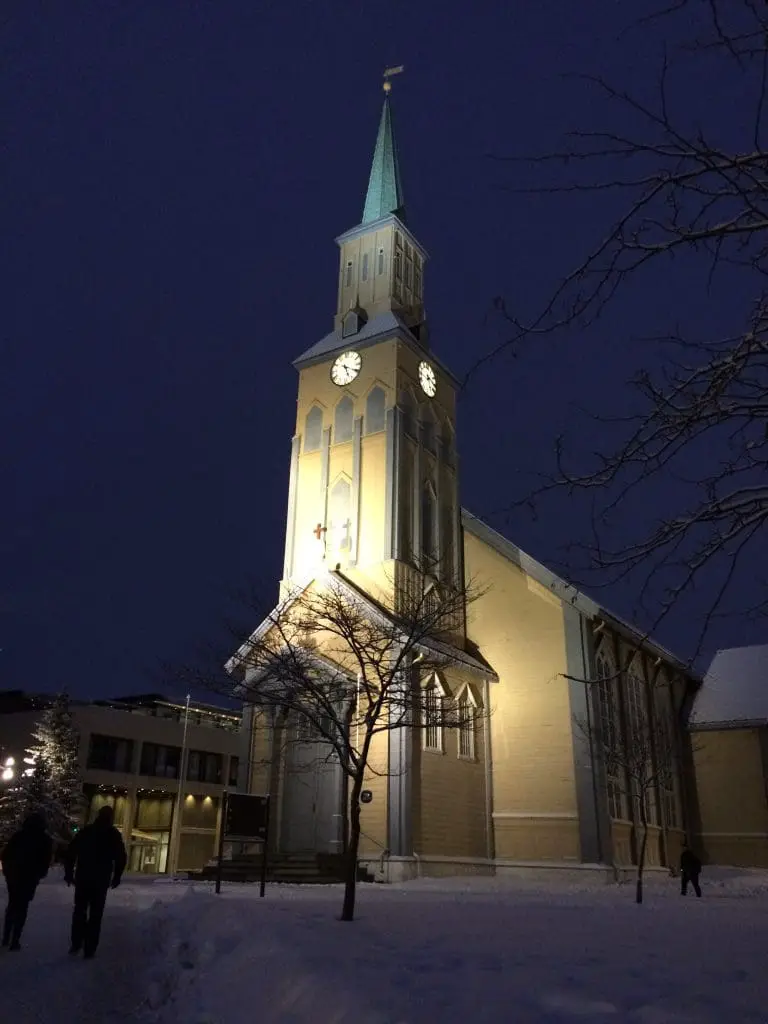
Finding Ideal Locations for Night Photography
Selecting the right location for night shoots is about balancing aesthetic potential with your safety.
- Scouting Locations: Look for areas free of excessive artificial light for better star visibility. Use apps or maps for researching potential spots.
- Personal Safety: Always tell someone where you’re going, bring a friend, carry a flashlight, and be aware of your surroundings, especially when shooting in remote locations.
Steps to Capture Stunning Night Photographs
Capturing the beauty of the night requires both preparation and technique. Follow these steps to take breathtaking night photos:
- Scout Your Location During the Day: Visit your chosen location during daylight to plan your shots. Look for interesting compositions and note how the light interacts with the environment.
- Use a Tripod: Stability is key in night photography to prevent camera shake during long exposures. A sturdy tripod will keep your camera still for sharp, clear images.
- Manual Mode is Your Friend: Switch to manual mode to have complete control over your camera settings. Pay particular attention to aperture, shutter speed, and ISO.
- Wide Aperture: Use a lens with a wide aperture (low f-number) to allow more light into the camera sensor. This is crucial for capturing detailed shots in low light conditions.
- Long Exposure: Experiment with longer shutter speeds to capture more light. This is especially useful for creating light trails or capturing stars.
- ISO Settings: Adjust the ISO based on the scene’s brightness. Higher ISO can brighten your photos but be cautious of increased noise.
- Focus Manually: Autofocus can struggle in low light. Use manual focus to ensure your subject is sharp. Live view mode can help to magnify the focus point for precision.
- Experiment with Composition: Night photography offers unique opportunities for creative compositions. Use light sources like streetlights or the moon to create interesting silhouettes or illuminate subjects.
- Shoot in RAW: Shooting in RAW captures more information from the scene, giving you better quality and more flexibility in post-processing.
- Stay Safe: Always prioritize your safety and the security of your equipment, especially when shooting in remote or unfamiliar locations at night.
Remember, night photography can be unpredictable, so patience and experimentation are key. Each night shoot will present its own challenges and opportunities for creativity. This beginners guide to night photography should hopefully help you.

Affordable DSLR Cameras and Lenses for Beginners
With a myriad of options on the market, finding a suitable yet affordable DSLR camera can be daunting. We recommend models like the Canon EOS Rebel series or Nikon D3500 for their performance in low light environments and user-friendly interfaces for beginners. Paired with a lens that has a wide aperture (like a 50mm f/1.8), you’ll be set for night photography without breaking the bank. Alternatively, consider renting equipment before making a big purchase.
When debating between Nikon and Canon, particularly for night photography, both brands have their loyalists and unique advantages. Nikon cameras are often lauded for their superior dynamic range and low-light performance, traits that are crucial for capturing detailed night skies and dimly lit scenes. On the other hand, Canon cameras tend to impress with their color science and user-friendly controls, making them a favorite among those who prioritize ease of use and vibrant, true-to-life colors. Ultimately, the choice between Nikon and Canon may come down to personal preference and the specific features that matter most to the photographer. It’s worth considering the ecosystem of lenses and accessories available for each brand, as they can significantly impact the long-term enjoyment and flexibility in night photography endeavors.
Conclusion
Dive into the world of night photography with these tips, and don’t forget to share your stellar shots! Whether you’re capturing the starlit sky or the city’s neon glow, every photo tells a story. Share yours in the community forum, and keep exploring the possibilities of your DSLR camera after dark.
We welcome you to join us in demystifying the night and sharing the beauty you capture. Snap, share, and shine with us!
Ready to start your night photography journey? Share your progress and insights on our community forum, where every shutter click leads to new connections and discoveries.